-40%
Red Star Bread Maker Heavy Duty Pan Seal Kit for Model ERS100 (10MKIT-HD) ERS200
$ 10.55
- Description
- Size Guide
Description
This Bread Maker"Heavy Duty Pan Seal Kit
"
will fit the model listed below:
Red Star
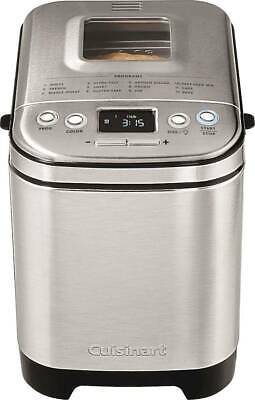
Automatic Dough & Bread Maker
Model Numbers:
ERS100 Style TS-238A
ERS200 Style TS-238A
(For 10mm Diameter Pan Shafts Only)
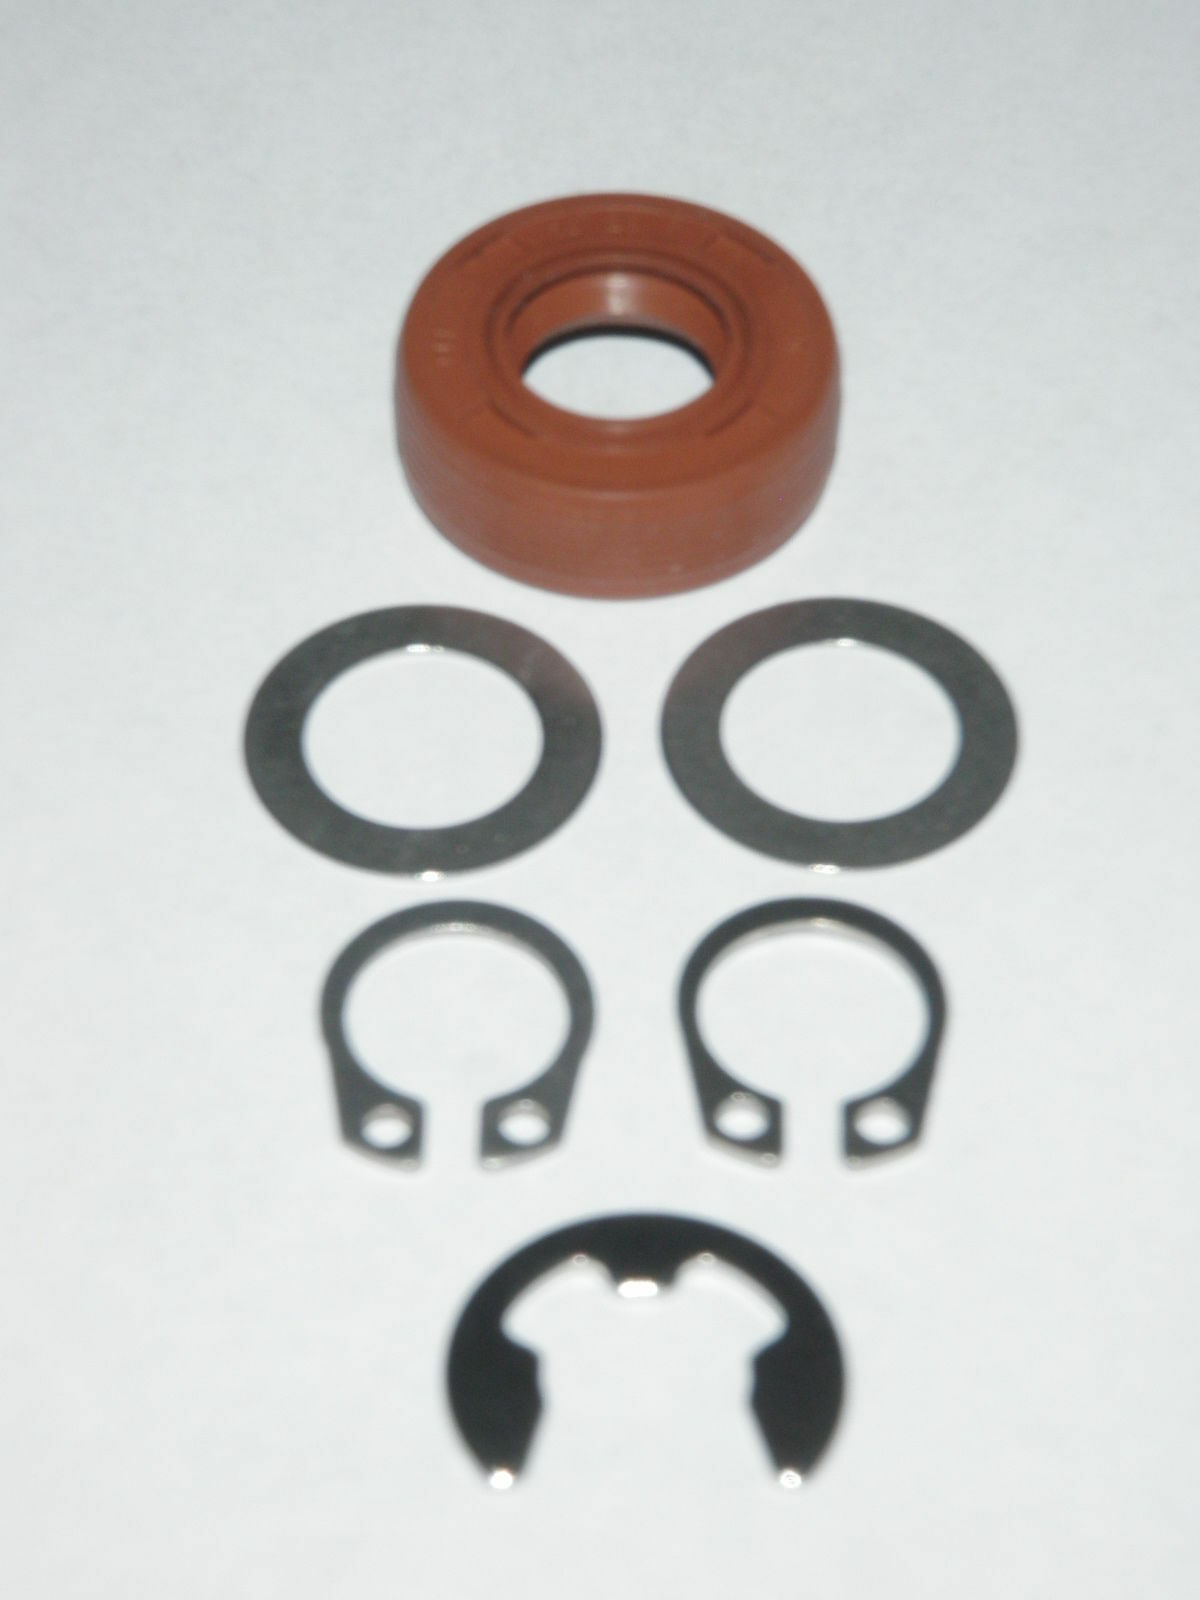
*Kit Includes: 1 Heavy Duty Pan Seal, 2 Stainless Steel Flat Washers, 2 Stainless Steel Snap Rings, 1 Stainless Steel E-clip, Explosion Diagram, and Installation Instructions.
*You will need Snap Ring Pliers to remove and install the Snap Rings.
***Important message about removing the seal in the pan:
***Warning! Before you attempt to install a new seal, you should always check for thin cracks around the rivet heads on the inside bottom of the pan. If you find a crack in the pan, then you will know the pan is leaking through that crack and is not repairable. If a rivet has loosened, appears to be coming out, or you can move the rivet head with your fingertip, then the pan will leak through that point. A new seal will not solve that problem. If you do not find any cracks or loose rivets, then continue reading and following through with the repair.
If the pan’s old seal and shaft are still secure, then you may push the seal out by removing the Snap Ring & Wing Nut Impeller from the bottom of the shaft. (Snap Ring Pliers are required to remove or install snap rings.) Then with minimal force push the shaft up and out the top of the pan. This action will push out the seal. If the shaft will not push through without using excessive force that may damage the pan.
***If the shaft has already fallen out the bottom, then you will need to pry out the old seal using an old double ended can opener / bottle opener. Place a business card or credit card in the bottom of the pan to prevent scratching when using the can opener to pry out the old seal. Place the pointed end of the opener into the center hole of the seal and gently pry upward moving from side to side until the seal pops out. Please note that the seal has an inner steel frame. If all you have removed so far is a thin piece of rubber, then you will need to remove the rest of the seal known as the inner frame. It is important that you be careful when removing the old seal. If the hole the seal is in becomes swelled, warped, or chipped then the new seal may not seat successfully.
***I strongly recommend that you do not install the new seal until you determine if the pan is in fact repairable. Please remove the old seal and then use a magnifying glass to inspect the hole for chipped off non-stick coating, pitting, corrosion, dings, dents, swelling, or warping. If any of the damage described is present, then please do not install the new seal. I can guarantee that it will not seat or seal correctly.
***Please be aware that each time you replace the seal it may not last as long as the previous seal, because the sleeve bearing in the bottom of the pan continues to wear, which causes more wobble that creates more stress for the seal to bear. The thin washers included in the seal kit replaces the white plastic or red/brown fiber washers that were placed under the E-clip on the drive shaft. You will re-use any metal washers found on the bottom end between the sleeve bearing and the wing nut impeller.
If you have any questions please ask before you "Bid" or "Buy".
THANKYOU!


